|
Third:
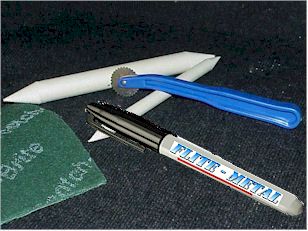
Proper application of Flite-Metal is from "center" outward along largest contact patch line on individual scale panels. In all cases, stretch should be kept to a minimum as you apply Flite-Metal across panel half. After reaching perimeter of first half, do same to second half. In this manner, when stretch is required in transition areas on drop forged panels of full scale aircraft...there will be plenty of stretch available for application. (You just might want to re-read that paragraph :^). You must understand you are not "skinning" the model. You are covering individual panels replicating the shape and finish of the full scale aircraft. Replication of the full size requires replicating as close as possible the area of transition. When a wrinkle occurs during the application process, it can easily be worked out with the use of the rounded end and side of the FK packaged Sharpie© panel marking pen and fibrous burnishing tools. Working from wrinkle outward...re-distribute the excess aluminum which caused the compression or uneven distribution of aluminum by burnishing with something other than your index finger or soft burnishing tools. The first sentences of our instructions: We've found with a little forethought, patience, and practice you can achieve a realistic finish on your scale project. Flite-Metal self adhesive aluminum is pressure sensitive and must be applied with burnishing pressure tools for proper adhesion. One of the things that makes the hobby of flying scale modeling fabulous is the area of self expression and experimentation. I have learned a great deal from customers who are rewarded with a great deal of attention and awards at Top Gun, AMA NATs, Florida Jets, Toledo Show, Scale Masters, and FAI. As customers discover a new process, I pass it on in our application and finishing instructions. |