Technically, the answer
to covering most complex convex or concave panels:
After placing 3M Fine Line tape (1/8th, 1/4, to 1/2 inch width)
around the perimeter of individual panel, use the narrow edge
of a straight edge placed upon the surface of the individual
panel. Rotate straight edge from the highest or lowest
point in the compound panel shape. This serves to identify
the largest contact patch and the % of the panel the patch
represents. The largest contact patch area and shape
is rarely parallel to any panel edge. (Re-read that paragraph)
After cutting a piece of Flite-Metal slightly larger than
perimeter of the panel taped to the airframe, peel off the backing
and place the aluminum down onto the surface as parallel to the
taped perimeter as possible.
Before you proceed to use your index finger to lightly press from
the panel center outward to the perimeter, locate the compound
curve contact patch direction and area. Initially apply
Flite-Metal from the straight line representing the center of
the contact patch...using your index finger. As you move from this
straight line contact patch press evenly in all directions as
you move outward burnishing the Flite-Metal proportionally
as you proceed.
Slowly work stretch to perimeter of panel where it
will be burnished against the hard edge of the 3M Fine Line tape. Cut along
hard edge of 3M Fine Line tape with hobby knife and pull
up waste aluminum and tape before final burnish of panel perimeter.
Some false assumptions about panels on "familiar
aircraft":
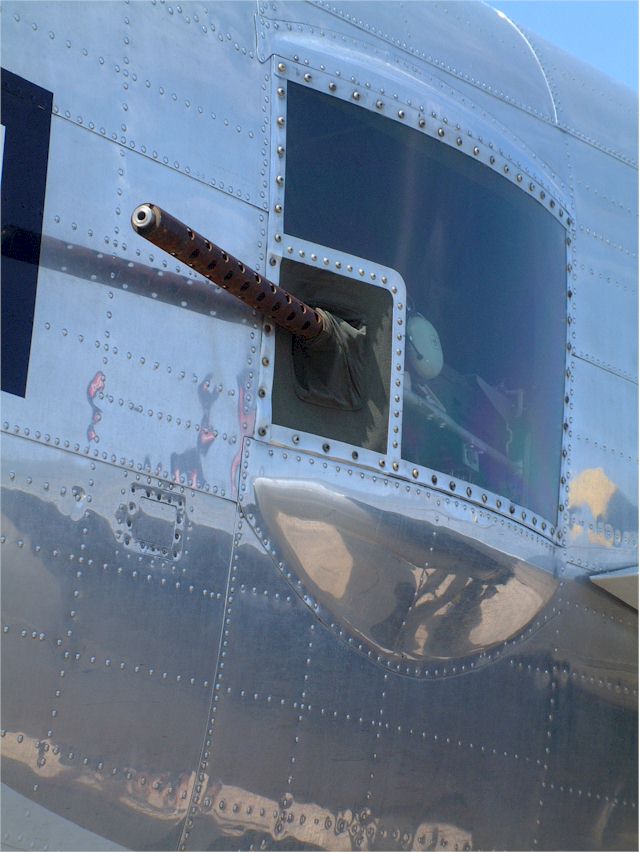
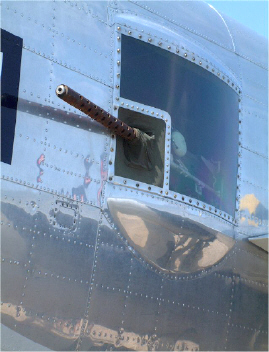
Most aircraft during the first three years of WWII incorporated
overlapped panels, and balance of the aircraft in WWII
incorporated combinations of overlapped and flush, or butt seam
panels.
B-25's
 |